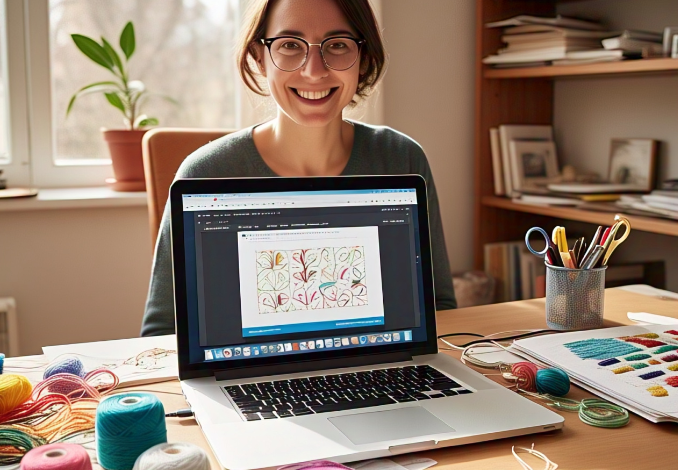
Free embroidery software can help you make beautiful designs on your computer without spending any money. Many people love to do embroidery, and now it’s easy to do with the help of simple tools online. You just need a laptop and your imagination!
With free embroidery software, you can draw, change, and even save your designs. These tools are fun, easy to use, and great for beginners. In this blog, I will show you some of the best free tools, how to use them, and which one is right for you. Let’s get started on your stitching adventure!
Table of Contents
Top Free Embroidery Software for Beginners in 2025
There are many good choices when it comes to free embroidery software. Some tools are better for beginners, and others are made for people who know more. Picking the right one is very important.
One popular tool is Inkscape with the Ink/Stitch add-on. It lets you draw and then turn the picture into stitches. It works well on Windows, Mac, and Linux.
Another good one is SewArt. It has a simple look and easy buttons. You can turn photos into embroidery patterns with just a few clicks. It also works on most computers.
You can also try My Editor. It’s good for viewing and editing designs. If you are starting out, try a few of these and see which one feels right for you.
Best Features to Look for in Free Embroidery Software
Every software has different tools, so it’s smart to look at the features before choosing one. The best programs will help you do more with less effort.
Look for tools that let you zoom in and out, draw your own shapes, and change colors. These are helpful when making a new design from scratch.
Make sure the software lets you save your work in the right file format. Embroidery machines need a special file type to read the pattern.
Some tools also give you templates or pre-made designs. These are great when you don’t want to start from zero. Good features make designing fun and fast.
How to Download and Install Free Embroidery Software Easily
Downloading software may sound hard, but it’s really not. Most free embroidery software can be found on trusted websites.
Go to the official website of the software you want. Click the “Download” button. Choose your computer type, like Windows or Mac.
After it downloads, open the file and follow the steps to install it. This usually means clicking “Next” a few times and waiting.
Once it’s installed, open the software and start exploring. Try clicking different tools to see what they do. It’s okay to make mistakes while learning.
Free Embroidery Software for Windows, Mac, and Chromebook
Not all computers are the same. Some use Windows, some use Mac, and others use Chromebook. It’s good to know which free embroidery software works on your device.
If you use Windows, tools like SewArt and My Editor work very well. They are made to run smoothly on most PCs.
Mac users can try Inkscape with Ink/Stitch. It is free and works nicely once set up. It may need a little extra help during setup, but it’s worth it.
Chromebook users have fewer choices. They can try browser-based tools or install Linux apps if possible. Always check the software page for system rules.
Can Free Embroidery Software Make Designs for All Machines?
Embroidery machines come in many brands, like Brother, Janome, or Singer. Not all software works with every brand. That’s why checking file formats is important.
Some software lets you save your design in different types. These types are called file formats. Each machine uses a special one, like .PES or .JEF.
Before using your design, always check your machine’s manual. It tells you what file type your machine needs. This helps avoid errors.
Even if the software is free, it can still make great designs for most machines. Just make sure it matches what your machine can read.
Step-by-Step Guide: Making Your First Design with Free Embroidery Software
Starting your first project is exciting! You don’t need to be perfect. Just follow a few easy steps and enjoy the process.
First, open the software and start a new project. Pick the size you want for your design. You can choose a small or big shape.
Next, use the drawing tools to create your picture. Add shapes, letters, or colors. Play around until you like how it looks.
Then, save the design in the right file format. After that, move the file to your embroidery machine using a USB or memory card. Now you’re ready to stitch!
Conclusion:
Free embroidery software is a great way to start learning and making your own fun designs. You don’t need to spend money, and you can try many tools until you find the one you like best. It’s like playing with digital crayons—you draw, color, and stitch on your screen!
If you love sewing and making cute things, this is a fun hobby to try. Don’t worry if you make mistakes at first. That’s how everyone learns. Just keep trying, enjoy the process, and soon you’ll make awesome patterns all by yourself. Happy stitching and have fun!